Chroma Digitizing Software: Difference between revisions
m (→Introduction) |
mNo edit summary |
||
| Line 1: | Line 1: | ||
{{syllabus | |||
|is_part_of_syllabus=Machine embroidery | |||
|is_part_of_module=Hatch Embroidery | |||
|is_module_of=Hatch Embroidery | |||
|do_not_show_sub_page=No | |||
|status=to improve | |||
|last_modification=2022-08-27 | |||
|objective=Understand the purpose of Hatch Embroidery, | |||
List the main functionalities | |||
|difficulty=beginner | |||
|see_also=Computerized embroidery, | |||
Concepts of computerized embroidery | |||
|pages_module=Hatch Embroidery 3 - auto-digitizing, | |||
Hatch Embroidery 3 - parametrize embroidery objects, | |||
Hatch Embroidery 3 - edit embroidery objects, | |||
CorelDRAW GEM for Hatch Embroidery, | |||
|cat_syllabus=Hatch Embroidery | |||
|prequisite=InkScape | |||
}} | |||
== Introduction == | == Introduction == | ||
Revision as of 15:48, 26 September 2022
Introduction
Chroma is embroidery software from Ricoma, a company that builds good instructional multi-needle embroidery machines. According to the Chroma website (9/2022), “Chroma, Ricoma's proprietary digitizing software, is designed to allow both the novice and experienced digitizer to create even the most intricate designs with ease and speed. Become a digitizing pro in no time with an easy-to-use interface, built-in styles and customization tools!”. This is a similar positioning as Hatch Embroidery 3. It's advanced "luxe" version costs $2100 and it therefore should offer more functionality.
We had a short look at the software (3 hours, including writing this piece). So we didn't do any serious testing, which actually would include stitching out files and that is not possible in the trial version. Our first impressions are good, expected functionality is there.
We recommend that Mac users should try out Chroma. Most embroidery software does not run on macOS (exceptions are Embrillance and Stitch Buddy). We did not test this software enough to make any other serious recommendation, in particular we cannot evaluate at this point whether if fits the need of professional designers and whether the extra price point for the "luxe" edition is justified for more casual power users.
Using the trial version and getting started
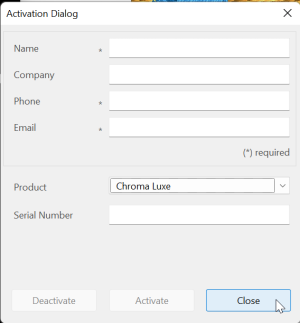
I believe that you can download any version from the web site, but probably you should register herefirst. You will get an email with instructions.It is important to understand that you will have to answer the opening dialog in a specific way and each time you enter the software you will have to select the level you want to test.
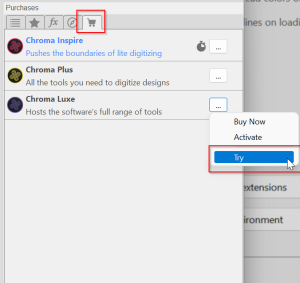
Once the system is open, you will have to select the level. Each time you switch you will loose the drawing in the workspace, so do switch before you anything !
Enjoy ....
You can either try classic digitizing by using the toolbox to the left or import a vector or raster file for auto-digitizing (see below). I usually start doing embroidery from precise vector art that I digitize automatically. Of course, the output then will require some minor adjustments and a lot of parametrizing.
Fill types
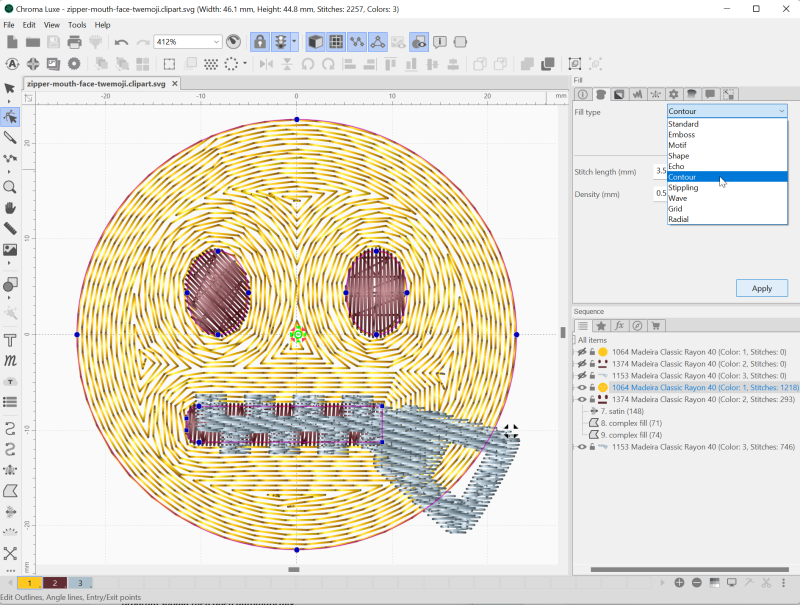
Chroma luxe includes the typical fill paradigms that one can find in good embroidery software. By default, larger fills are done with a tatami for which a small number of variants exist.
The next picture shows both various fill types (in the pull down menu) and a contour fill with a density of 0.5mm.
Parameters and controls
Embroidery object parameters and controls
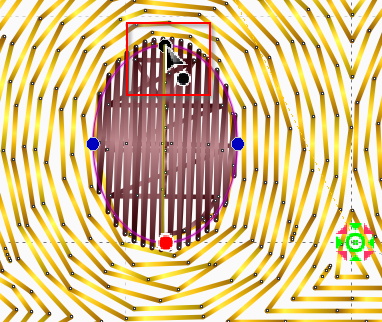
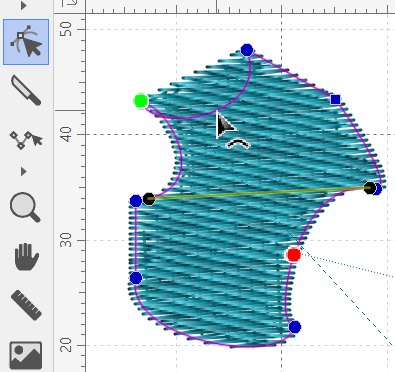
Embroidery objects have color coded controls:
- Blue to change the shape
- Red and green are the entry/exit points I believe
- Black on a satin allows moving the direction line
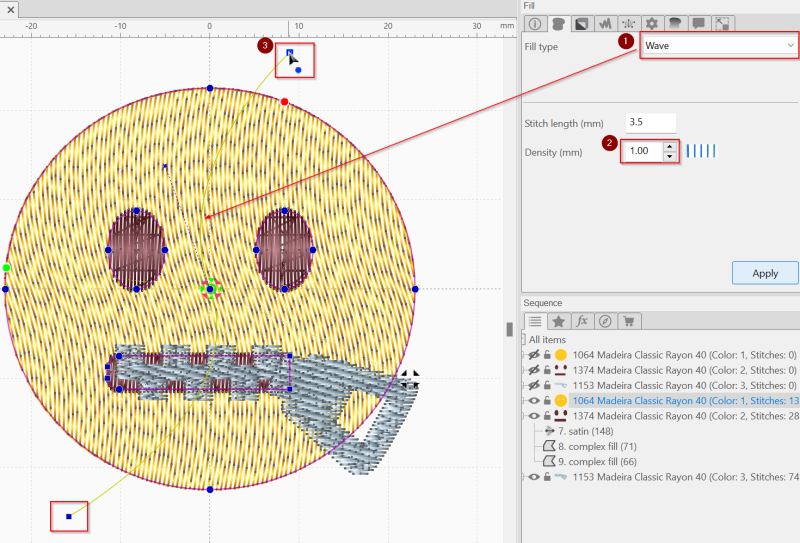
Wave is another line-based fill and the wave can be edited through a guideline, item (3) in the screen shot below.
Software parameters
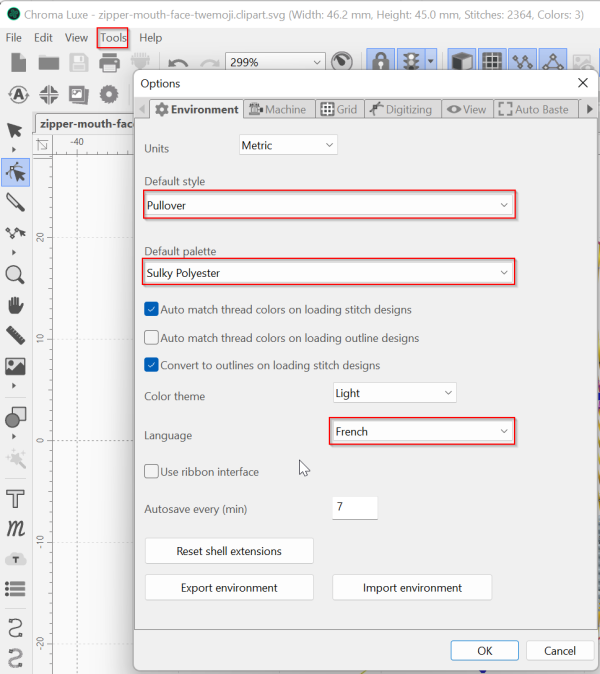
- It does speak several languages, including French
- Default palettes can be selected (Gunold is missing, but Sulky is probably the same).
- Default textiles (that will influence density, underlay, compensation, etc) can be defined.
We have to figure out if custom styles and parameters can be defined.
Editing
Embroidery objects can be edited with typical simplified vector editing operations it seems. Select the Shape edit Icon in the toolbox (second from the top or hit F9)
Unless this can be changed somewhere, you can:
- move nodes
- act on edges (lines), e.g. pull the lines into curves. This is similar as in Hatch and much easier for beginners than Bezier control points.
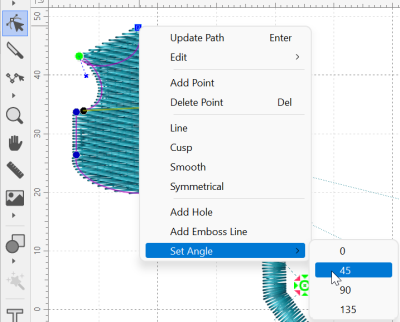
- Right click on a point allows changing the type, e.g. "line" will connect a straight line to the next point that is also "line"
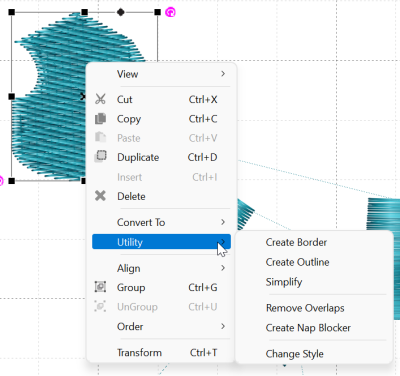
Objects (same as the items in the sequence viewer) also have a context menu that allows certain operations like converting, aligning, creating a border ....
Automatic digitizing
Chroma supports both vector and raster images.
Vector images
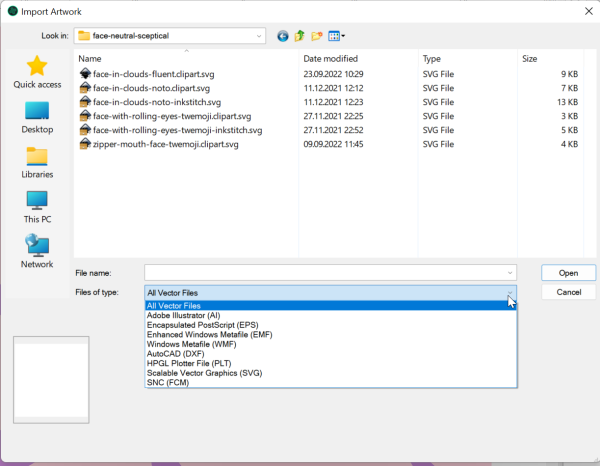
We first tested import of SVG that went smoothly (although we did not test bad SVG code. The emoji above have been cleaned for import in Hatch and Embroidery Office. Several formats are supported.
You can edit the envelope of vector objects, but not the shapes themselves (unless we mised something)
Raster images
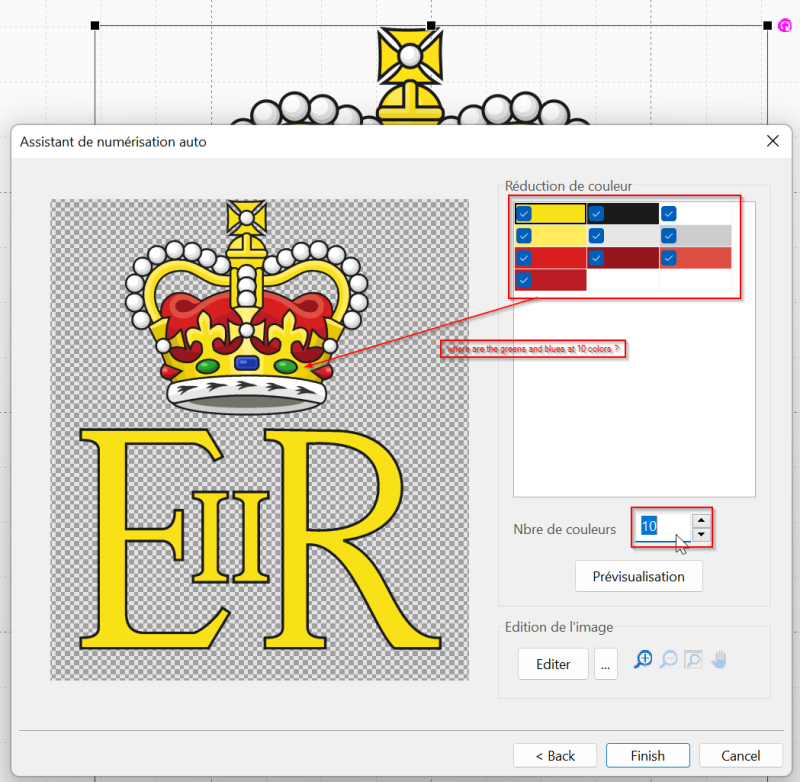
Importing clean raster files works fine if the number of colors is small. Color reduction is not working well. We tested this with a clean drawing (actually exported from an SVG file found on Wikipedia) . In order to detect green and blue we have to select 26 colors and we didn't find any method to merge colors. Both Hatch and Stitch Era can do this. Maybe we missed the feature since there is no real manual.
Classic digitizing
The lower half of the toolbar to the left includes the typical digitizing tools: These are also available under Tools -> Digitizing.
- run path
- satin path ("Steil")
- classic satin (click left-right, left-right).
- complex fill
- satin path (asks to add a direction line at the end)
- appliqué
- cross stitch
- manual (stitches)
Manipulations:
- Right click (or enter ?) to finish
- Each time you can define entry/exit by moving the green and red dot
